Being someone who doesn't always have the most free time to get things done I wanted a quick and easy recipe for pickling but I struggled to find one that also didnt have a really long list of ingredients on top of an overly complicated method. So with some combining a few different ideas I trialed my own version and it seemed to work well enough.
This is the method I have used and has worked for me:
Ingredients:
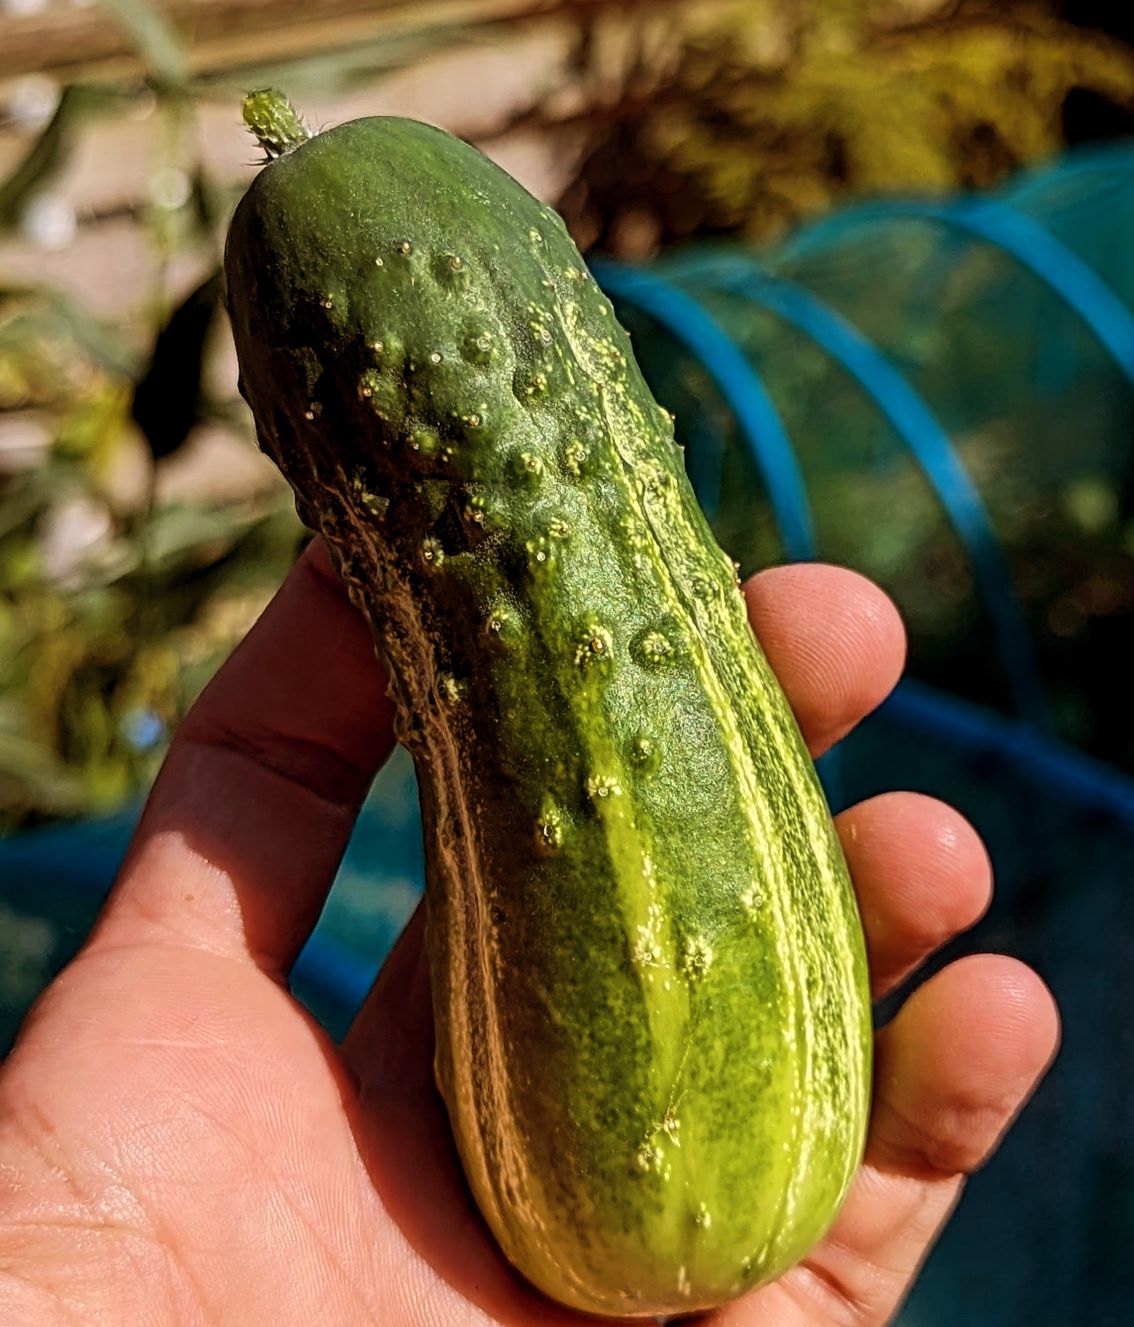
- 500G Gherkins
- 1Tbsp Fine Sea Salt
- 400ml White Vinegar
- 400ml Water
- 1Tbsp Pickling Spice
- Fresh Dill (I use one sprig per jam jar)
Method:
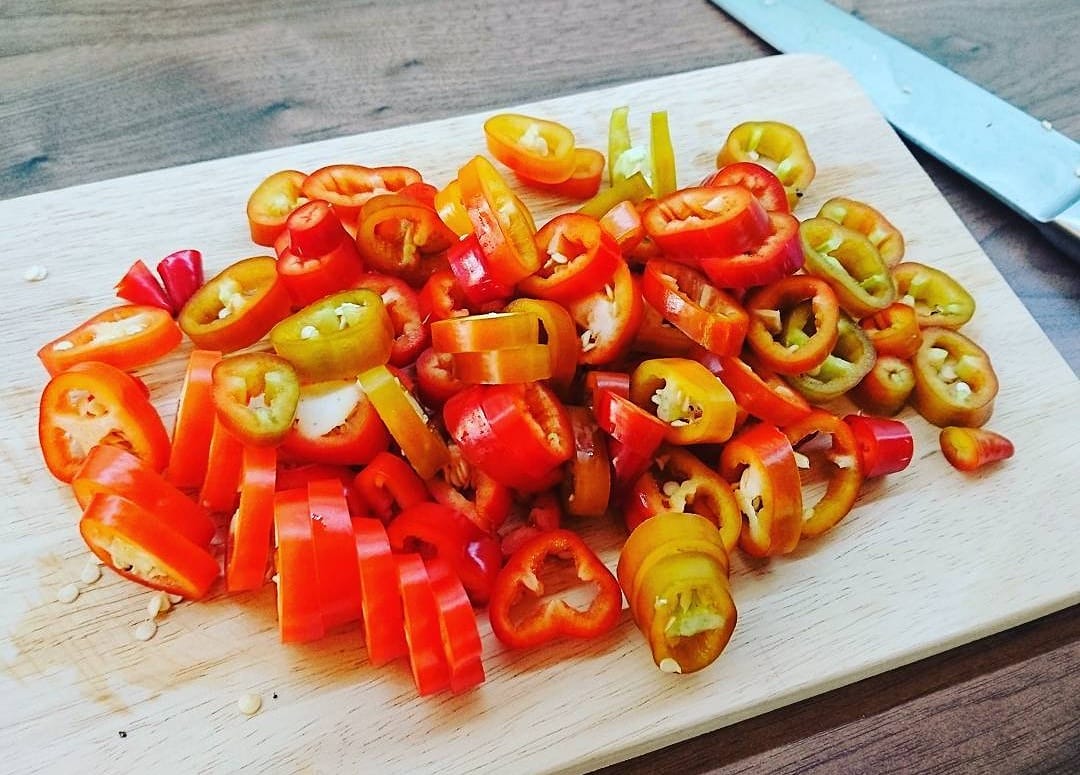
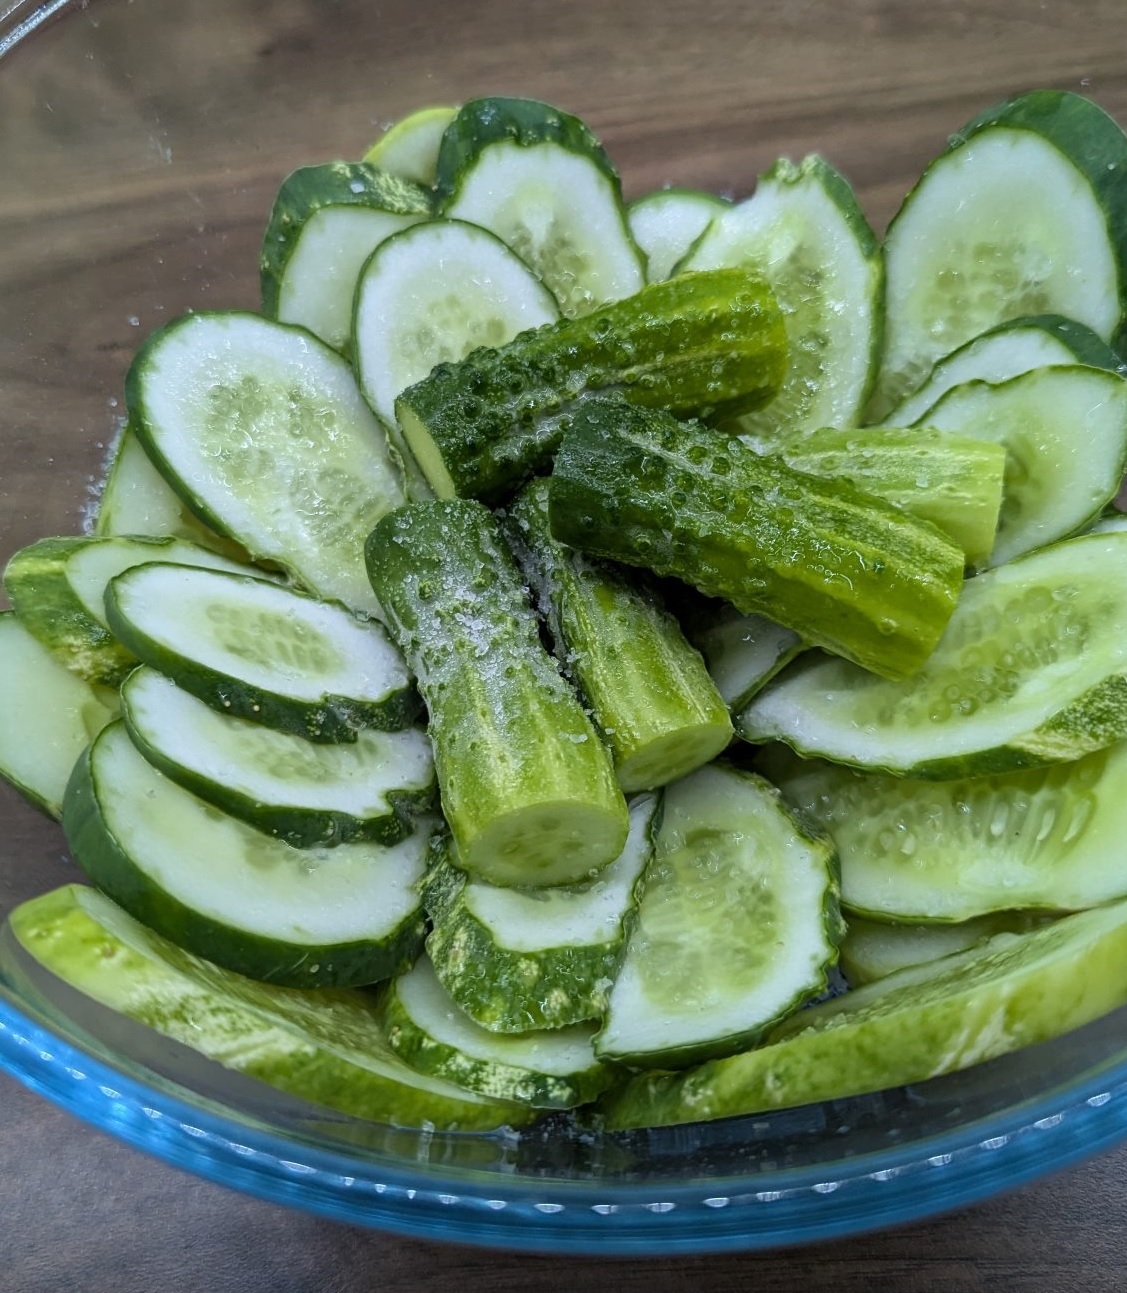
- Wash your gherkins, if using whole trim both ends, I like to slice ours so let them grow a little longer if you want them to go further.
- Place your gherkins in a clean bowl and sprinkle with the salt, cover and allow them to stand until the salt has liquidized (I do this the night before)
- When you are ready to go, get the jars in your oven to sterilse, meanwhile bring the Vinegar and Water to the boil, once boiling, turn down the heat and add your pickling spice. Turn off the heat and allow to cool slightly whilst you complete the next part.
- Boil a kettle full of water to rise your gherkins before packing them in to your jar/s along with your sprigs of Dill.
- Finally carefully fill your jars with the spiced vinegar until the gherkins are fully covered and seal. Allow at least 48 hours before consuming but for best results and flavour leave for approximately 2 - 3 weeks before opening.
]]>